Pixy2 Quick Links
Basics
Connecting Pixy2 to…
Pixy2 Modes / Programs
Software and Support
Basics
Connecting Pixy2 to…
Pixy2 Modes / Programs
Software and Support
When combined with Pixy, the pan/tilt mechanism makes a fun demo — a good “hello world” for Pixy (no Arduino required). The pan/tilt mechanism comes in a kit and requires some assembly.
You will need the following (in addition to a Pixy and a pan/tilt kit):
There are lots of different types of fasteners included in this kit. Refer to the picture below to help you find which fastener we are referring to in these instructions.
1 - Start by removing the paper backing from the “frame” plastic piece.
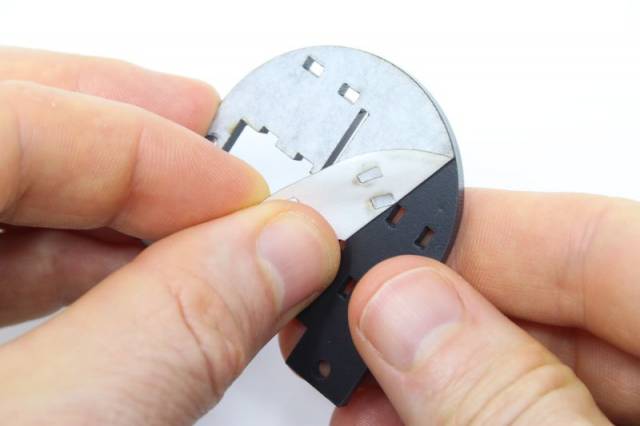
2 - Remove one of the servos from its bag and attach to the frame by inserting its side-flange into the frame slot as shown. The flange of the servo fits very snug in the slot and requires some force.
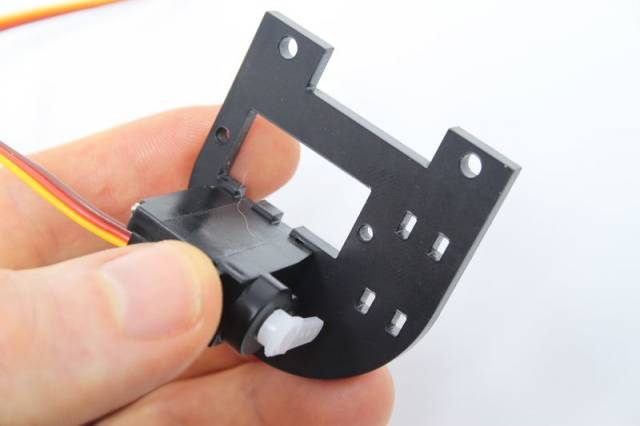
3 - Flip the frame and servo over and attach a cable-tie as shown.
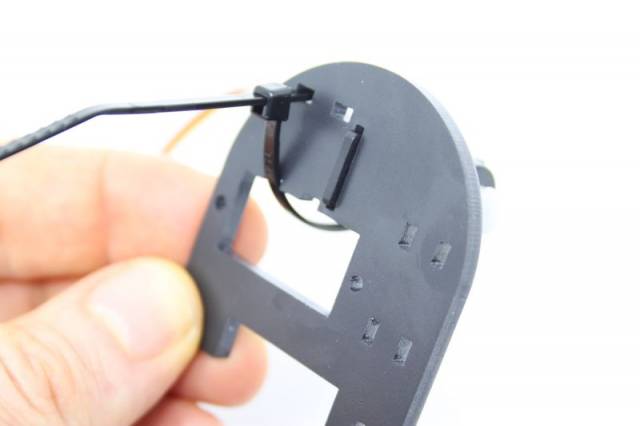
4 - Attach a second cable tie and tighten by hand as shown.
5 - Use pliers to tighten the cable ties by grabbing the ends of the cable-ties and pulling.
6 - Remove the second servo from its bag and fit it into the hole in the frame as shown.
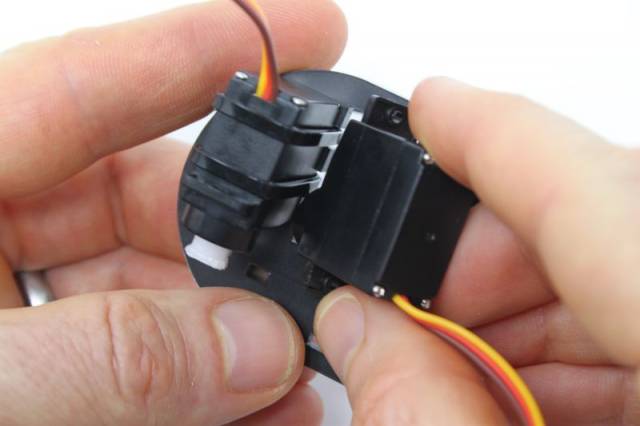
7 - Attach the servo to the frame by using two long tapping fasteners, being careful not to over-tighten!
8 - Take all five metal right-angle brackets out and examine them. Notice that three of them have two threaded holes and two of them have one threaded hole. We'll call these two-threaded and one-threaded brackets, respectively. Go ahead and separate these two bracket types to make things easier.
Grab a two-threaded bracket. If you look really closely, you'll notice that one of its legs is ever-so-slightly longer than the other. Say what? It's true— I don't know why. But you can best see this by looking at the holes in the bracket. One of the holes in centered in its leg and the other hole is not centered, because its leg is slightly longer. It's enough of a difference to cause issues.
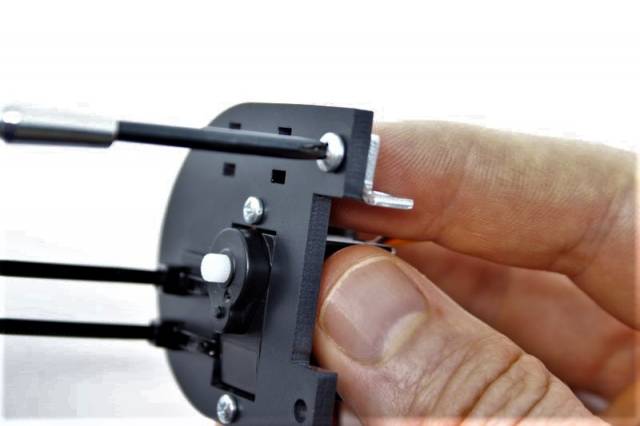
Using a long 4-40 fastener, attach a two-threaded bracket to the frame as shown. The longer leg of the bracket receives the fastener (and the shorter side sticks up). Do this on the other side of the frame with another 4-40 fastener and two-threaded bracket.
