Mounting Pixy to your LEGO creation
This guide is intended fo those who purchased Pixy for LEGO. The hardware bag that comes with Pixy for LEGO is slightly different, so you may have problems with this guide if you purchased a regular Pixy.
You'll need the following tools and parts (in addition to your Pixy for LEGO):
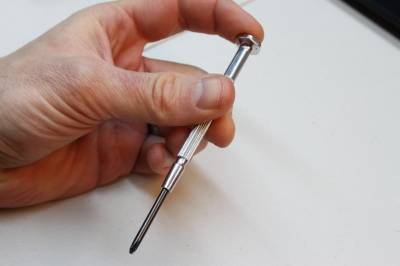
A small phillips screwdriver, like the one shown below.
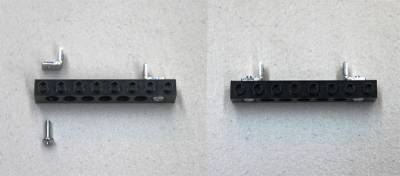
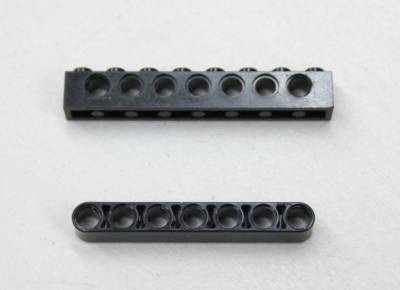
LEGO beams – you can use longer beams as long as they are equal to greater in length than the beams shown below. It depends on your preference!
OK, first take a look at your hardware bag that's included with Pixy for LEGO. You should have a black lens fastener, three different lengths of machine fasteners, some nylon bushings, and some right-angle brackets. These are shown and labeled below.
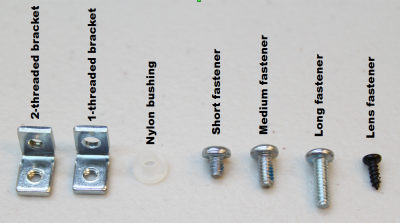
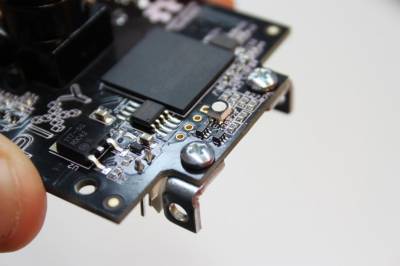
Take all four right-angle brackets out and examine them. Notice that two of them have two threaded holes and two of them have one threaded hole. We'll call these 2-threaded and 1-threaded brackets, respectively. Go ahead and separate these two bracket types to make things easier.
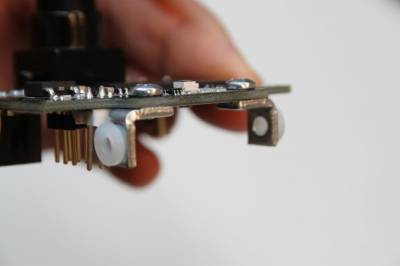
Next, grab a 2-threaded bracket. If you look really closely, you'll notice that one of its legs is ever-so-slightly longer than the other. Say what? It's true— I don't know why. But you can best see this by looking at the holes in the bracket. One of the holes is centered in its leg (see below)
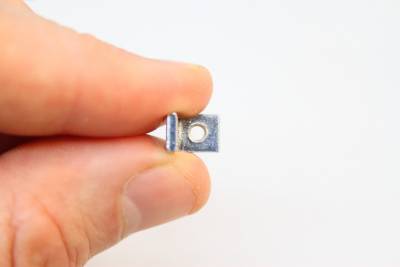
and the other hole is not centered, because its leg is slightly longer (see below).
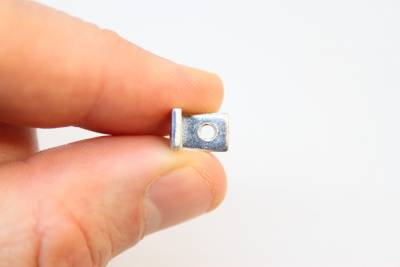
Weird. But it's important for this first step:
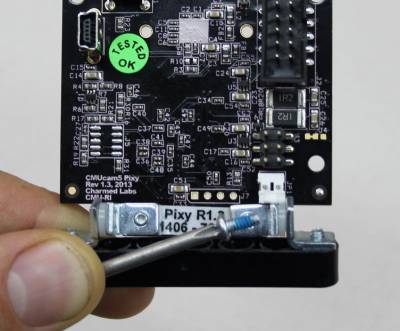
The fasteners form an axle that you can use to tilt Pixy up and down. Inserting the screws from the inside allows you to tighten them down, so Pixy holds the desired tilt angle. .
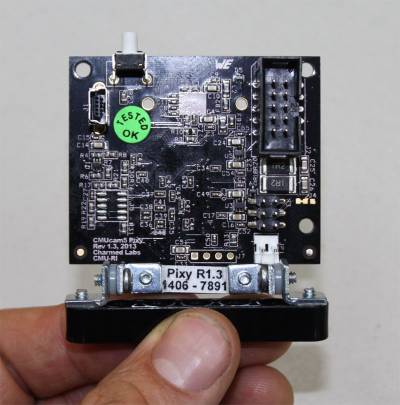
That's it! Keep your Pixy attached to the LEGO beam and you will always be able to easily attach Pixy to your LEGO creations!
